If you have never stayed at a glamping site before, the arrival process can catch you off guard. Many first-time glampers expect a hotel-style front desk, only to find a lockbox on a gate, an emailed access code and a narrow arrival window with no staff in sight. Add in unfamiliar rules about fires, quiet hours and deposits, and what should be an exciting start to your trip can quickly feel confusing.
This guide walks you through glamping check-in from start to finish. We explain how it differs from a hotel stay, what to confirm before you leave home, how to find your unit and settle in on arrival day, and which site rules to expect. We also cover daily life on site, from cooking to showers and power, plus checkout times, cleaning expectations and how to protect your deposit. By the end, you will know exactly what to do at every stage of your stay.
How Glamping Check-In Differs From a Hotel Stay
The biggest difference between glamping and a hotel is that there is usually no front desk at all. Instead of checking in with a receptionist, most sites use self-check-in: you collect a key from a lockbox, punch a code into a smart lock, or simply drive through a gate using a code emailed to you before arrival. This keeps costs down for small operators and lets guests arrive without staff on hand, but it also means you need to read your confirmation email carefully rather than relying on someone to greet you.
Fixed arrival windows
Smaller sites often have one fixed arrival window rather than round-the-clock reception. A typical window runs from 3:00-5:00 PM, and at some sites self-check-in opens around 4:00 PM. If you turn up outside that window, there may be no one to help and no way to reach your unit, so plan your travel time around it.
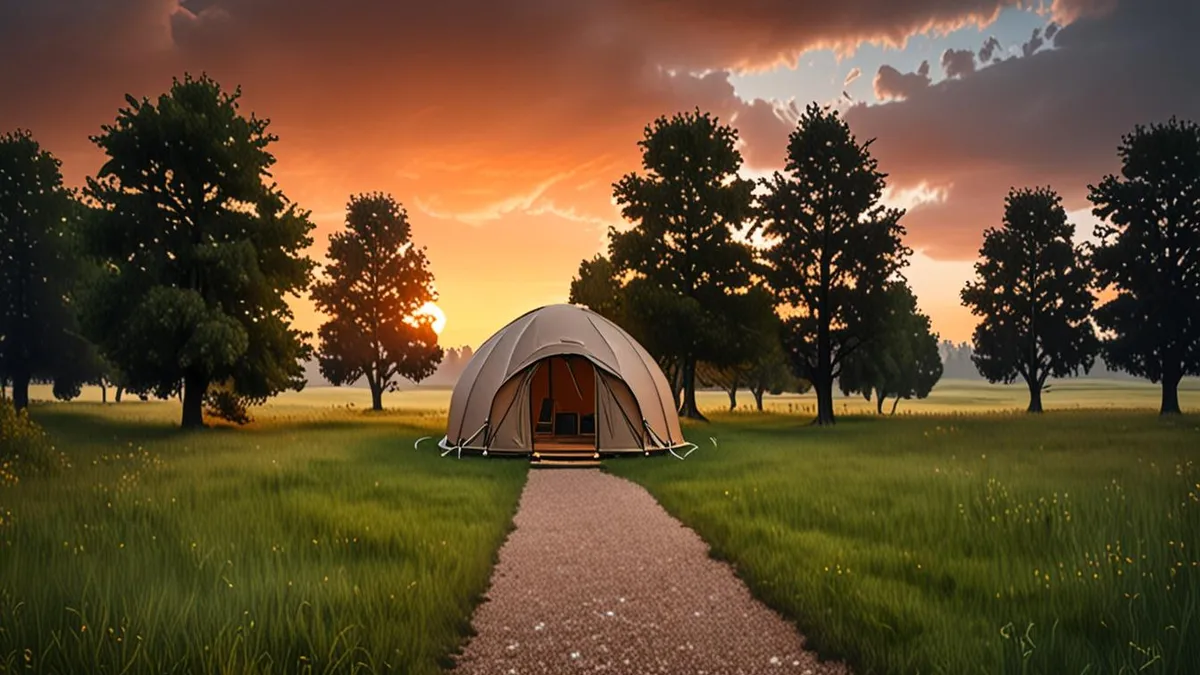
Another surprise for many first-timers is the distance between your car and your tent or cabin. Some sites let you park beside your unit, but many require a walk of a few minutes along a grass path or gravel track, and a few need a short drive to a separate parking area. Pack light, use bags you can carry comfortably, and check the site’s luggage guidance before you leave home so you are not hauling heavy suitcases across a muddy field.
Before You Arrive: Confirming Details and Timing Your Trip
Good glamping trips start well before arrival day. Because small sites often have only a handful of units, peak-season weekends sell out early, so it pays to book 2-3 months ahead if you want a summer or holiday weekend slot. This is especially true for popular regions during school holidays, when even mid-sized sites can be fully committed well in advance. If you are new to this kind of trip, it helps to read up on how to plan your first glamping trip before you commit to dates.
In the final day or two before departure, your job is to confirm the practical details. Most hosts send an arrival email with everything you need, but do not assume it will arrive automatically. Reach out 24-48 hours before you travel to confirm your arrival window, parking instructions and access code, especially if you booked weeks earlier. A quick message also gives the host a chance to flag anything that has changed, such as a locked gate, a new access route or maintenance work near your unit.
- Late arrivals: If you will reach the site after your window closes, tell the host as soon as you know. Most sites need 24-48 hours’ notice to arrange late self-check-in, and some may not be able to accommodate it at all.
- Offline information: Save the host’s phone number and written directions to your phone before you leave, or print them out. Rural sites often have weak mobile signal, so a screenshot of directions may be useless if you lose coverage en route.
- Weather and road checks: Look at the forecast for arrival day, since heavy rain can turn access tracks muddy and affect how close you can drive to your unit.
- Food and supplies: Work out where the nearest grocery store or farm shop is, because the closest place to buy firewood or breakfast supplies may be 20 minutes or more away.
Arrival Day: Finding Your Unit and Settling In
Arrival day goes smoothly when you take it step by step. The drive out to a rural site is where most problems happen, so give yourself plenty of daylight and follow the process below from the moment you turn off the main road. If you are arriving in late afternoon, remember that finding your way around an unfamiliar property gets much harder once the sun goes down, so aim to complete the practical tasks in this list while you can still see clearly.
- Use the emailed directions, not your GPS pin. Map apps frequently drop you at the wrong farm gate or trailhead, sometimes a mile from the actual entrance. The host’s written directions usually reference landmarks, gate colors or track names that no mapping app knows about.
- Park where instructed. Some units have dedicated spots, while shared parking areas may be signed. Blocking a farm gate or another guest’s access is one of the fastest ways to annoy a host.
- Collect your key or enter your code. At self-check-in sites, open the lockbox and take the key, or punch the code into the smart lock. Note where the key lives so you can return it at checkout.
- Inspect the unit against the check-in photos. Hosts often send photos at handover. Walk through the tent or cabin and compare what you see, checking for damage, missing items or cleanliness problems.
- Report issues within the first hour. Message or call the host straight away about anything wrong. Reporting promptly protects you from being charged for pre-existing damage at checkout.
- Locate the essentials. Find the fire extinguisher, first-aid kit, water supply and the composting toilet or washroom before dark, when finding them becomes much harder.
Once the practical steps are done, take a few minutes to settle in properly. Unpack only what you need, since space in a tent or cabin is limited, and if you are traveling with a dog, double-check the site’s pet arrangements before it comes inside. Many first-timers ask whether glamping sites are pet-friendly and how to find out, and it is far easier to sort out leads, bedding rules and fees before you arrive than on the doorstep.
It also helps to set up your space for the evening while there is still light outside. Get the chairs positioned around the fire pit, work out where your lantern or head torch lives, and bring in anything from the car that you will need after dark. Rural sites can get genuinely chilly once the sun sets, even in warm months, so locate extra blankets or the heating instructions early rather than fumbling around at midnight. Then put the kettle on, step outside, and enjoy the quiet you came for.
Common Glamping Site Rules to Expect
Glamping sites tend to run on house rules rather than front-desk policies, and they are usually sent to you by email before arrival. Read them carefully, because many are enforced with deposits or pre-authorisations on your card. The good news is that most rules exist to protect the site itself, which is often a working farm or a fragile natural area, so they rarely interfere with a relaxed stay.
The rules that catch first-time glampers off guard are usually the ones about noise and fire. Sites are small, units sit close together, and canvas walls do very little to block sound. Fire safety is taken equally seriously, since a stray ember near a tent is a genuine hazard. Here is what to expect in practice:
- Quiet hours: Most sites enforce quiet hours from around 10:00 PM to 7:00 AM, and many go further by banning music and amplified sound at any hour, expecting conversation-level noise only.
- Fires and candles: Open fires are typically allowed only in designated fire pits or provided fire bowls, and some sites prohibit candles, lanterns and any open flame inside canvas tents because of the fire risk.
- Pets: Policies vary widely between sites. Many welcome dogs for an additional fee, but expect them to be kept on leads and kept off bedding and furniture, so bring your own pet blanket.
- Deposits: Most sites hold a security deposit of roughly $100-300, or place a card pre-authorisation for a similar amount, which is released a few days after checkout once the unit is inspected.
- Visitors: Extra guests almost always need to be declared and paid for in advance, and unannounced day visitors are commonly refused or charged on the spot.
If any rule is unclear, email the host before you arrive rather than negotiating on the day. Asking whether a portable speaker counts as amplified sound, or whether two well-behaved dogs count as one pet, takes two minutes and can save you a deposit deduction later.
Living on Site: Facilities, Meals and Daily Comforts
Glamping comfort sits somewhere between camping and a hotel, and knowing where it lands helps you plan. Most units are deliberately low-tech: they give you a warm, dry, real bed in a beautiful setting, but not the full appliance lineup of a hotel room. A little preparation makes the difference between cozy and frustrating.
Cooking and meals
Cooking is usually done outdoors, either on a BBQ or fire pit, or on a basic two-ring stove under a shelter. Some sites provide a small kitchen area, but even then it is rarely more than a sink, a stove and basic cookware. Plan simple one-pan meals rather than anything with precise timing, and bring your own basics like oil, salt, coffee and matches unless the listing confirms they are supplied. If you want a full breakdown of what to bring, this glamping packing checklist covers the essentials.
Power, water and connectivity
Power is often limited to lighting and phone charging, so leave the hair dryer and any high-wattage appliances at home. Some solar-powered sites ask guests to keep charging to daylight hours. Showers and toilets may be shared facilities a short walk from your unit, especially at larger sites, so pack flip-flops and a headlamp for nighttime trips. Wi-Fi, where it is offered at all, is typically slow, and many rural sites have weak mobile signal too. Download maps, playlists and any entertainment before you leave home, and screenshot your directions and the host’s phone number so you are not stranded without them.
Treat the facilities as part of the experience rather than a downgrade. A fire-cooked dinner and a lantern-lit walk to the washroom are exactly the kind of moments that make a glamping trip feel different from a hotel stay.
Checkout: Times, Cleaning Expectations and Deposits
Checkout at a glamping site is earlier and more hands-on than at a hotel. Most sites ask you to leave by 10:00-11:00 AM, and because the host often needs to reset the unit for the next guests the same afternoon, extensions are hard to grant. If you want a later departure, raise it with the host the evening before, not on the morning itself.
Unlike a hotel, you will usually be expected to do a short round of light cleaning before you go. Budget 15-30 minutes for it. It is not deep cleaning, but hosts genuinely do charge deposits for units left in poor condition, so treat it as part of the deal. A typical routine looks like this:
- Washing up: Clean any pots, pans, plates and cutlery you used, dry them and return them to the storage space where you found them.
- Rubbish: Bag all trash and take it to the site’s bins or collection point; many rural sites have no daily collection, so leaving bags inside the unit attracts pests and causes deductions.
- Bedding: Strip the bedding only if your host’s instructions ask for it, and leave used towels in the spot they specify rather than dropping them on the floor.
- Furniture: Return chairs, tables and outdoor items to their original positions, and make sure any fire pit embers are fully cold and cleared if instructed.
Before you lock up, take a set of photos of the unit as you leave, including the interior and any outdoor area you used. If a deposit dispute comes up later, timestamped photos are usually enough to settle it quickly. Finally, return the key to the lockbox or leave it in the agreed spot. Lost keys are one of the most common deposit deductions, and unlike a hotel card, a lockbox key often costs the host real money to replace. Then walk out, close the gate behind you if there is one, and let the host know you have gone with a quick message if they have asked for one.
Wrapping Up Your Glamping Arrival and Departure
Glamping check-in catches many first-timers off guard because it looks nothing like a hotel stay. Instead of a front desk, you will usually get a lockbox code or smart lock entry, a fixed arrival window and a short walk from the parking area to your unit. The fix is simple: confirm your arrival details, parking instructions and access code 24-48 hours before you leave, and let the host know early if you will be late.
The same preparation pays off during your stay and at the end of it. Knowing the rules on open fires, quiet hours and the security deposit before you arrive means no unpleasant surprises. On departure day, allow 15-30 minutes for the light cleaning your host expects, photograph the unit as you leave and return the key where you were told. Do that, and checkout is quick and your deposit comes back without a dispute. Have a glamping check-in story of your own, or a question about your first trip? Leave a comment or share this article with a friend planning one.