Glamping for beginners sounds simple: book a tent with a bed, show up, and enjoy the outdoors without roughing it. In practice, first-time glampers often book the wrong stay type or arrive unprepared, turning what should be a luxury escape into a frustrating trip. A canvas tent that looked cozy online can be freezing at night, and a “quick weekend getaway” can fall apart over fine print you never read.
The good news is that most glamping disappointments come from a handful of predictable mistakes, and every one of them is avoidable with a little planning. This guide walks through six of the most common: choosing the wrong stay type for your comfort level, booking too late or ignoring the fine print, underestimating night-time temperatures, packing like a hotel guest instead of a glamping guest, misjudging the true cost, and trusting photos instead of reviews. We’ll finish with practical steps to set up your first trip for success, so your introduction to glamping is the relaxed, comfortable escape it’s meant to be.
Mistake 1: Choosing the Wrong Stay Type for Your Comfort Level
The biggest mistake first-time glampers make is assuming all glamping stays are roughly the same. They aren’t. A basic bell tent with shared bathroom facilities down the path is a very different experience from a heated dome with its own en-suite, and the price gap between them reflects that. If you book a rustic option expecting hotel-level comfort, you’ll be disappointed; if you pay for a luxury dome you don’t need, you’ll overspend.
Check the comfort level before you book
Comfort varies hugely by stay type, so check the specifics before paying. Look for whether the unit has heating, a real bed, a private bathroom, electricity and cooking facilities. Some sites offer full kitchens and hot showers; others give you a mattress on a platform and little else. Neither is wrong, but the right choice depends entirely on how much comfort your trip needs.
Also match the structure to your group. Yurts and safari tents tend to suit couples looking for a cozy, compact space, while larger cabins and multi-room tents work much better for families or groups who need space and a bit of privacy.
Finally, read the site description carefully to see what’s included versus what you must bring. Bedding, towels and kitchenware are the usual culprits: some sites supply all three, others expect you to arrive with your own. Ten minutes of reading the listing now saves you a cold, ill-equipped first night later.
Mistake 2: Booking Too Late or Ignoring the Fine Print
Glamping sites are small, often with just a handful of units, so they sell out far faster than hotels. A site with eight tents can be fully booked for a holiday weekend months in advance, while a nearby hotel still has rooms. If you wait until summer to book a June-to-August trip, you’ll likely find the most popular sites already full. Book peak-season stays 3 to 6 months ahead to get your pick of dates and stay types. For a full step-by-step walkthrough, see how to plan your first glamping trip.
The second half of this mistake is ignoring the fine print. Glamping bookings often come with conditions that hotels don’t have, and they can derail a trip if you discover them after paying. A quick read of the listing’s policies takes five minutes and can save you from losing money or arriving at a site that doesn’t suit you. Before you confirm anything, check the details below.
- Minimum stays: many sites require a 2-night minimum stay on weekends, which matters if you were planning a quick one-night getaway. Some sites will flex on this midweek, so ask before booking elsewhere.
- Cancellation windows: most sites require 14 to 30 days notice for a partial or full refund. Book early but double-check the policy, especially for trips where your dates might shift.
- Check-in times: remote sites often have narrow check-in windows, and arriving after dark makes setting up far harder. Confirm the time and plan your drive around it.
- Site atmosphere: some sites are adults-only, others family-friendly or pet-friendly. Confirming this before paying avoids surprises like unexpected noise or leaving the dog at home.
A few minutes spent reading the booking terms is the cheapest insurance you’ll ever get on a trip. If anything in the listing is unclear, message the host and get the answer in writing before you pay. Do it before you book, not after.
Mistake 3: Underestimating Night-Time Temperatures
Glamping keeps the rain off and gives you a real bed, but it does not guarantee warmth. Temperatures inside unheated tents can drop to 5-10°C (41-50°F) on cold nights, even in summer, especially in open countryside or at altitude. Plenty of first-timers pack for warm days, then shiver through the night wondering why nobody warned them.
Pack for the night, not the afternoon
The fix is simple: pack layers and warm sleepwear even for warm-season trips. Think fleece, thick socks and a warm layer for evenings outside the tent, plus sleepwear suited to cool nights. Before booking, also check whether the unit provides heating or a wood stove, because that changes what you need to bring and how comfortable you’ll be after sunset.
Thinking about a winter stay?
Winter glamping can be wonderful, but only if the site is properly set up for it. Before booking a cold-weather trip, confirm the insulation, the heating type and the hot water arrangements directly with the site. Our guide to glamping in winter explains how cold-weather stays work in practice.
If you’d rather skip the cold altogether, book shoulder-season dates in May or September. Nights are milder, sites are quieter, and shoulder-season stays often cost 20 to 30% less than summer rates. For first-timers, it’s the easiest way to enjoy glamping without gambling on the temperature.
Mistake 4: Packing Like a Hotel Guest Instead of a Glamping Guest
One of the most common packing errors newcomers make is treating a glamping site like a hotel. Most glamping operators provide bedding, but that is often where the included list ends. Many sites expect you to bring your own torches, extra layers and sturdy footwear, so check the “what to bring” section of your booking confirmation before you leave home.
Weather-proof gear matters far more than outfits. Even a short walk from your tent to the bathroom can turn miserable in rain, and paths that were dry on arrival can become muddy overnight. Pack a rain jacket, waterproof shoes and several spare pairs of socks, even if the forecast looks clear.
Then there are the small comforts that make a real difference after dark. Before you zip up your bag, run through this list:
- A reusable water bottle, since many sites have a shared water point rather than a tap in your tent
- A power bank, because outlets are often limited to a communal area or absent entirely in basic tents
- Slip-on shoes or sandals for night trips to the bathroom, when lacing up boots in the dark gets old fast
- A head torch with fresh batteries, which leaves your hands free for unlocking doors and finding paths
Finally, resist the urge to overpack formal clothes. Glamping dress codes are thoroughly casual, and storage space in tents is limited to a shelf or a trunk. If you are unsure what to prioritize, a detailed packing checklist for your glamping trip can help you build a list that matches your stay type and the season.
Mistake 5: Misjudging the True Cost of a Glamping Trip
Many first-timers look at the nightly rate, multiply it by the number of nights and assume that is the trip’s cost. In reality, the headline price is only the starting point. A basic tent typically runs around $100 per night, while a luxury dome with an en-suite bathroom can easily exceed $400 per night, and that is before a single extra is added.
The extras that add up
Add-ons such as firewood, breakfast hampers, on-site activities and cleaning fees are common, and together they can add 20 to 40% to your total. Firewood is the classic example: bundles sold on site are convenient but add up over a multi-night stay, especially if you plan to use a fire pit every evening. Ask the host what is included when you book, and budget a buffer on top of the nightly rate rather than treating it as your final figure.
Compare by total trip cost
It is also a mistake to assume glamping is always pricier than traditional camping without comparing what is included. A real bed, cooking gear and a private bathroom can replace equipment you would otherwise buy or rent, which narrows the gap quickly. When weighing stay types, compare the total trip cost, including extras and what you would spend on gear elsewhere, rather than the headline nightly price alone. A $150 tent with everything included can beat a $95 one that charges separately for bedding, showers and firewood.
Mistake 6: Trusting Photos Instead of Reviews
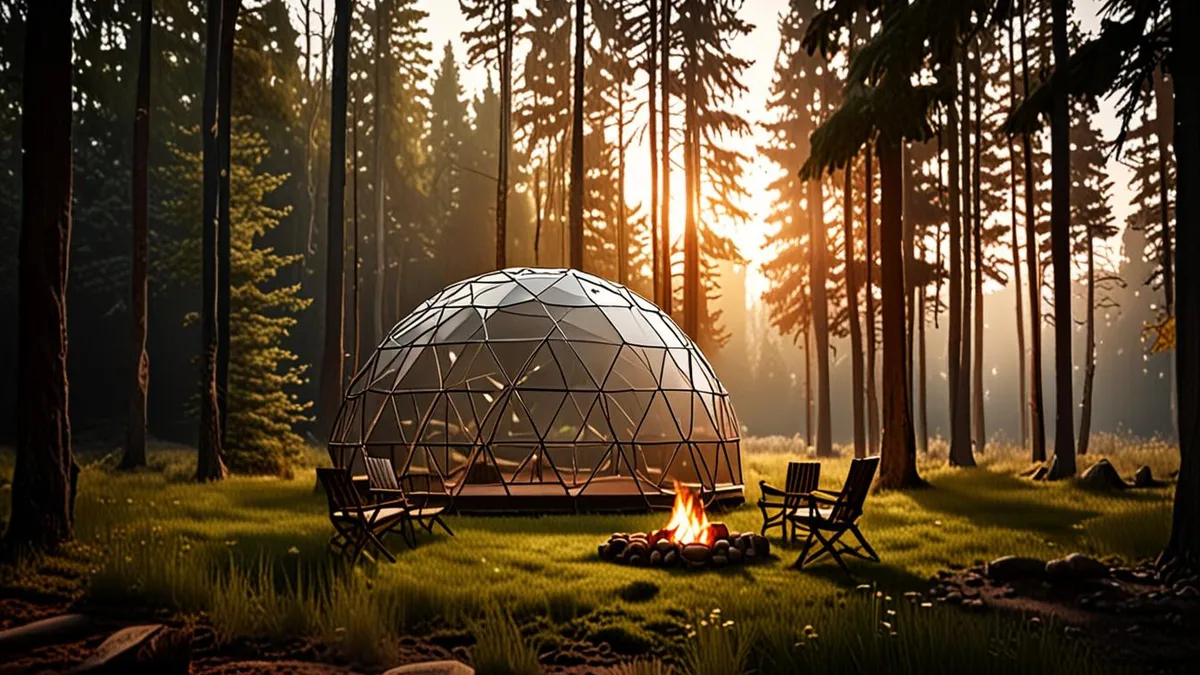
Glossy photos sell a dream version of a site: golden hour light, immaculate interiors, not a wrinkle on the bedding. The reality is that photos are often taken at opening, after a renovation or with wide-angle lenses that make tents look far larger than they are. Before booking, always read recent guest reviews for the things photos cannot show you: cleanliness, noise levels and how well the site is maintained.
Read for the surroundings, not just the tent
Pay attention to what reviewers say about the site’s setting, not just the accommodation. Comments about road noise, the distance to bathrooms from a far-flung tent or thin walls that carry every conversation from the next pitch tell you more about your likely experience than any gallery. A “secluded” dome next to a busy road is a very different trip from the one the photos suggest.
Watch how the host responds
How a host answers complaints is often the best predictor of how problems will be handled during your own stay. Calm, practical replies that offer solutions are a good sign; defensive or dismissive responses to reasonable criticism are not. Also watch for red flags that repeat across multiple reviews, such as mentions of damp, insects or broken facilities. One review might be an unlucky stay, but the same issue appearing again and again points to a pattern the photos will never reveal.
Final Thoughts: Setting Up Your First Glamping Trip for Success
Glamping should feel like an easy upgrade from camping, and for most first-timers it does — as long as you avoid the traps that catch so many beginners. The biggest ones come down to preparation: match the stay type to your comfort level, book your summer trip 3 to 6 months ahead, and pack layers rather than assuming the tent will stay warm all night.
Money and research matter too. Budget for extras on top of the roughly $100 to $400+ nightly rate, and read recent reviews instead of trusting glossy photos alone. Get these basics right and your first glamping trip becomes the relaxed, comfortable escape it is meant to be. If you have a tip or a story from your own first glamping trip, share it in the comments below.