Scroll through any glamping site and you’ll spot it straight away: two round canvas tents, both photogenic, both promising a night under the stars. But bell tents vs tipis is not a cosmetic comparison — once you’re inside, they behave like completely different accommodations, especially when the weather turns or your group is bigger than two.
This guide walks through the differences that actually matter when you book: how much space and headroom each one gives you, how they handle cold and wet weather, the atmosphere each creates, what you can expect to pay per night, and how to match the right tent to your season and group. By the end, you’ll know exactly which one fits your trip — and which questions to ask before you click reserve.
Bell Tents vs Tipis: The Core Differences at a Glance
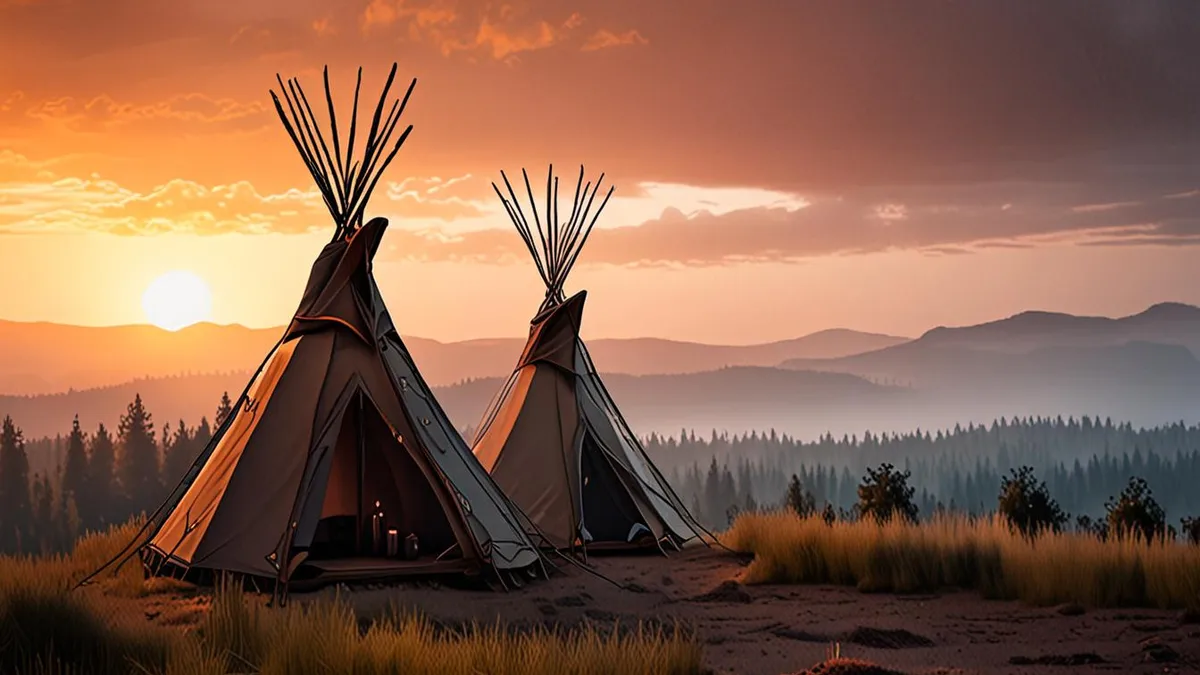
At first glance, both tents look like classic canvas shelters, but their shapes tell you everything about how they work. A bell tent is a round tent held up by a single central pole, with canvas walls that slope gently down to the ground — think of an upside-down bell. A tipi (or teepee) is a tall, steep cone, traditionally supported by long poles, with a smoke flap at the top that can be adjusted to let smoke from an interior fire escape.
Shape shapes the experience
That difference in design affects everything from headroom to heating. Bell tents are quick to pitch — site staff typically have one up in 30–60 minutes — which makes them ideal for short, 1–3 night stays in fair weather. Tipis are far more involved: they’re built as semi-permanent structures that stay standing for the season, which is why they suit longer stays and handle rougher conditions.
Size is the other big divider. A typical 4–5 m bell tent offers around 12–20 m² of floor space, while tipis of 5–7 m offer 20–35 m². In practice, that means a tipi can sleep up to six with genuine headroom, while most bell tents are comfortable for two to five. If you’re choosing between the two, start with your group size and how long you’re staying — those two factors will usually make the decision for you.
Space, Layout and Sleeping Arrangements
Step inside a bell tent and the layout is immediately obvious: everything revolves around that central pole. Most sites furnish them with one double bed, or arrange 2–4 single beds in a circle around the pole. The catch is the sloping walls — you can stand comfortably in the center, but headroom drops off fast toward the edges, so getting dressed or digging through a suitcase near the wall means crouching.
A tipi feels completely different. Thanks to the steep cone shape, you get near-full standing height across most of the floor, not just in the middle. That makes moving around, packing and getting ready far easier, especially with a bigger group.
How a tipi’s layout works in practice
Many tipis come with a central fire pit or wood stove, and that changes the floor plan. The fire needs a clear zone around it, so sleeping areas sit in a ring on the perimeter. A few practical details worth knowing:
- The fire zone is usually lined with sand or a raised hearth, so you can’t simply rearrange beds toward the center.
- Because beds ring the fire, everyone shares warmth — but light sleepers should know a fire in the middle means some smoke smell and occasional crackle at night.
- Tipis with a central fire pit or stove need 24–48 hours of drying time between guests in wet weather, so availability after a rainy spell can be limited.
- With sleeping areas around the edge, luggage typically lives between beds rather than in a dedicated spot — pack soft bags instead of hard suitcases.
Warmth, Weather and Seasonal Use
This is where the two tents really part ways. Bell tents are mostly fair-weather stays: they’re widely available from April to October, and that’s when they’re at their best. In the shoulder months, canvas can feel cold and damp, especially overnight, so a spring or autumn bell tent trip means packing warm layers and expecting a chill in the morning.
Rain, condensation and drying out
Wet weather matters more in a bell tent than most first-timers expect. After rain, condensation forms on the canvas, and bedding near the walls can feel clammy. Ventilation helps, but there’s no heat source to dry things out quickly — a damp towel stays damp. A stove-heated tipi, by contrast, dries out much faster: the constant warmth from the fire keeps the interior air circulating and pulls moisture off the canvas overnight.
That heating is also what makes tipis a genuine year-round option. Models with a wood stove or central fire stay usable through winter, including proper cold-weather stays with snow outside. If the idea of a frosty morning with a crackling fire indoors appeals to you, it’s worth reading up on how cold-weather glamping stays actually work before you book. If your trip is firmly in the warm months, though, a bell tent will handle the season just fine — and cost you less for the privilege.
Atmosphere and Who Each Tent Suits
Walk into a bell tent and you’ll immediately notice the mood: cozy, simple, and a little romantic. The central pole and sloping walls create an intimate space that works beautifully for couples or a small family of three or four who want a low-key canvas stay without fuss. Most sites furnish them with a proper bed, rugs, and lanterns, so the vibe is more “boutique bedroom under canvas” than rough camping.
Tipis feel completely different. The tall cone shape and open center draw everyone toward the middle, which is exactly where the fire pit or wood stove usually sits. That makes a tipi naturally communal: people gather around the flames, chat late into the evening, and share the space rather than retreating to separate corners. If you’re traveling as a group of four to six, this layout earns its keep.
Which one fits your trip?
Honeymooners and couples celebrating something special often prefer a furnished bell tent. You get privacy, a proper double bed, and a quiet, self-contained feel that’s hard to beat on a warm evening with the canvas doors rolled back.
Groups, on the other hand, get far more value from a tipi’s shared space. One large floor plan, one warm fire, and room for everyone to spread out means the tipi becomes the social heart of the trip, not just somewhere to sleep.
Price: What Each Tent Type Typically Costs
Price is one of the clearest differences between the two. Bell tent stays in the UK commonly run £80–£180 per night, with the exact figure depending on how well the tent is furnished and where the site sits. A basic unfurnished pitch in the countryside sits at the lower end, while a fully furnished tent with a real bed, wood flooring, and views over water pushes toward the top.
Tipis typically cost £100–£220 per night. That premium reflects their size, the semi-permanent build, and the heating inside: keeping a tipi warm through the colder months costs more to run and maintain, and you’re paying for the extra comfort that comes with it. Some sites also factor in the extra turnaround work between guests, especially in wet weather.
When to book
Timing matters as much as the nightly rate. For July–August trips, book 2–4 months ahead, because the best-equipped tents on popular sites go first. Shoulder-season dates usually need only 4–6 weeks’ notice, and you’ll often find softer prices outside the summer peak.
If you’re budgeting a whole trip, it helps to see how these nightly rates compare with cabins, yurts, and other stay types. Our guide to what glamping really costs per night breaks it down by accommodation type so you can see where bell tents and tipis sit in the wider picture.
How to Choose Between a Bell Tent and a Tipi
Choosing between the two comes down to three things: when you’re traveling, how many of you there are, and what you expect from the stay. It’s easy to get swayed by a pretty photo, but the practical details matter far more once you’re actually on site. Work through the steps below before you book, and you’ll avoid the most common glamping disappointments.
- Check your dates first. If your trip falls between April and October and the forecast is likely to be kind, a bell tent is the natural choice. If you’re traveling in cooler months, a tipi heated by a stove or an open central fire is the safer bet, since these structures stay usable year-round.
- Count your group. A bell tent suits couples and small families of two to four. If you’re four or more people, or you simply want everyone gathered in one shared space around a fire, choose a tipi instead.
- Look closely at the listing’s heating. Some bell tents have no heat source at all, while some tipis offer a full wood stove rather than an open fire pit. This single detail changes how comfortable your nights will be, especially after dark.
- Confirm the bedding. “Furnished” can mean anything from a proper bed with linens to an air mattress. Read the description carefully so you know what you’ll actually be sleeping on.
- Check the bathroom situation. Some sites give each tent a private bathroom; others rely on shared shower blocks. Decide which you can live with before you pay.
Once you’ve matched the tent to your season, group size, and comfort expectations, the decision usually makes itself. Book early for peak summer dates, and you’ll have the pick of both types.
The Bottom Line: Bell Tent or Tipi?
So, which one should you book? If your trip falls in the warmer months and you’re after a simple, affordable canvas stay for one to three nights, a bell tent is the easy choice. It wins on price and simplicity, and for couples or small families that’s often all you need.
A tipi makes more sense if you’re traveling in cooler months or want real space to spread out. With more floor area, near-full standing height and heating, tipis stay comfortable year-round — for roughly £20–£40 more per night. Think about when you’re going, how many of you there are, and how much comfort you expect, then let those three answers point you to the right canvas. If this helped you decide, leave a comment or share the article with your travel crew.