You’ve booked the time off, picked the park, and now you want a real bed and a proper roof over your head instead of a sleeping pad on the ground. But searching for glamping near national parks quickly gets overwhelming: dozens of safari tents, yurts, and domes pop up on the map, and some of them sit so far from the gate that you’d spend more of your morning driving than hiking.
That’s the problem this guide solves. Choosing a base isn’t just about finding the prettiest tent — it’s about picking a location, season, and stay type that actually fits your itinerary and budget. Below, we’ll walk through why your base matters more than your tent, how to map distance to the right park entrance, when to book, which stay types handle which climates, what you can expect to pay, and how to vet a site before you commit. Follow the steps in order, and the rest of your trip planning falls into place.
Why Your Base Matters More Than Your Tent
Picture two glamping options: one is a photogenic dome with a cedar hot tub, two hours from the park gate; the other is a simpler safari tent forty minutes out. The gorgeous dome looks like the obvious winner in the photos, but every day you stay there, you’re giving up roughly three hours of trail time to driving. Over a four-day trip, that’s a full hiking day lost to the road.
The traffic factor most travelers underestimate
Distance on the map isn’t the whole story, either. At popular park entrances, lines of cars can add one to two hours on peak summer mornings. If your base is far from the gate on top of that, you’re either waking up before dawn or queuing with everyone else while the best parking spots at trailheads vanish.
That’s why experienced park travelers pick their base first and build the rest of the trip around it. Once you know where you’ll sleep, choosing trailheads, meal plans, and rest days becomes simple. Choose the wrong base, and every other decision gets more complicated.
How Close Is Close Enough? Mapping Distance to the Gates
When you’re comparing glamping sites on a map, the number that matters most isn’t the straight-line distance to the park — it’s the drive time to the specific entrance you’ll actually use. Two listings can both claim to be “near” the same park while sitting on opposite sides of it, separated by hours of driving. Here’s how to work that out before you book, so you don’t lose trail time to the road.
- Identify your main gate. Large parks like Yellowstone and Yosemite have multiple entrances, and they can sit hours apart. Pick the one that matches your itinerary — the trailheads, lodges, and sights you actually plan to visit — rather than the one closest as the crow flies. If you’re unsure, sketch out your first two or three days and see which entrance they funnel through.
- Set a drive-time target. Aim for a base within 30-45 minutes of that entrance. That keeps early starts manageable, since many popular trailhead parking areas fill up in the morning, and it gives you flexibility if you want to pop back to camp midday for lunch or a rest.
- Check drive times in season. A mapping app might show 35 minutes in March, but road closures, construction, and summer traffic can stretch that considerably. Look for recent visitor reports or ask the host what the drive is really like in peak months, and note whether any roads along the route close seasonally.
- Compare prices at different distances. Once you’ve shortlisted locations, see how rates change as you move away from the gate — a guide to what glamping costs by stay type helps you judge whether a site is fairly priced for where it sits.
Work through these steps for every park on your list, and you’ll quickly see which listings deserve a closer look. A site that nails the drive-time test is worth more than a fancier tent in the wrong spot, and it makes every other decision — meals, day trips, sunrise starts — easier once you arrive.
Timing Your Trip: Seasons and Booking Lead Times
Even the perfect base is useless if it’s booked solid. Glamping sites near popular parks have far fewer units than hotels, so availability disappears fast. For summer stays near major parks, book 3-6 months ahead — and know that gateway areas can sell out 6+ months before peak weekends. If your dates are fixed around a holiday or school break, treat booking like a reservation for a sought-after restaurant, not an afterthought.
If your schedule is flexible, shifting your trip into the shoulder season is the easiest upgrade you can make. The months of May-June and September-October bring lower rates, fewer crowds, and milder hiking weather — no more starting trailheads at 6 a.m. just to beat the heat. Shoulder-season rates often undercut peak-season prices of $150-$400 per night, sometimes by a wide margin.
A few practical details to weigh when you time your booking:
- Wildlife activity and waterfall flow often peak in late spring, which makes May-June especially rewarding for photographers willing to layer up for cooler mornings.
- September-October can bring fall color in higher-elevation parks, but daylight hours shrink, so plan shorter hiking days and check sunset times before you finalize an itinerary.
- Shoulder-season bookings sometimes come with more flexible cancellation terms than peak-weekend rates, which matters if weather might affect your plans.
- If you’re new to this style of travel, a beginner’s guide to planning a first glamping trip can help you line up timing, packing, and reservations in the right order.
Whichever window you choose, set a calendar reminder for the moment booking windows open. The best-located sites near famous parks rarely wait around for late planners.
Picking a Stay Type That Suits the Park Climate
Not every glamping structure handles every season well, and the type you book can make or break a cold-weather park trip. Safari tents and yurts usually close in winter, so they suit warm-season parks best. If you’re planning a summer stay in a desert or low-elevation park, a canvas safari tent with mesh windows and a shaded deck can be ideal — you get airflow and bug protection without paying for heating you won’t need.
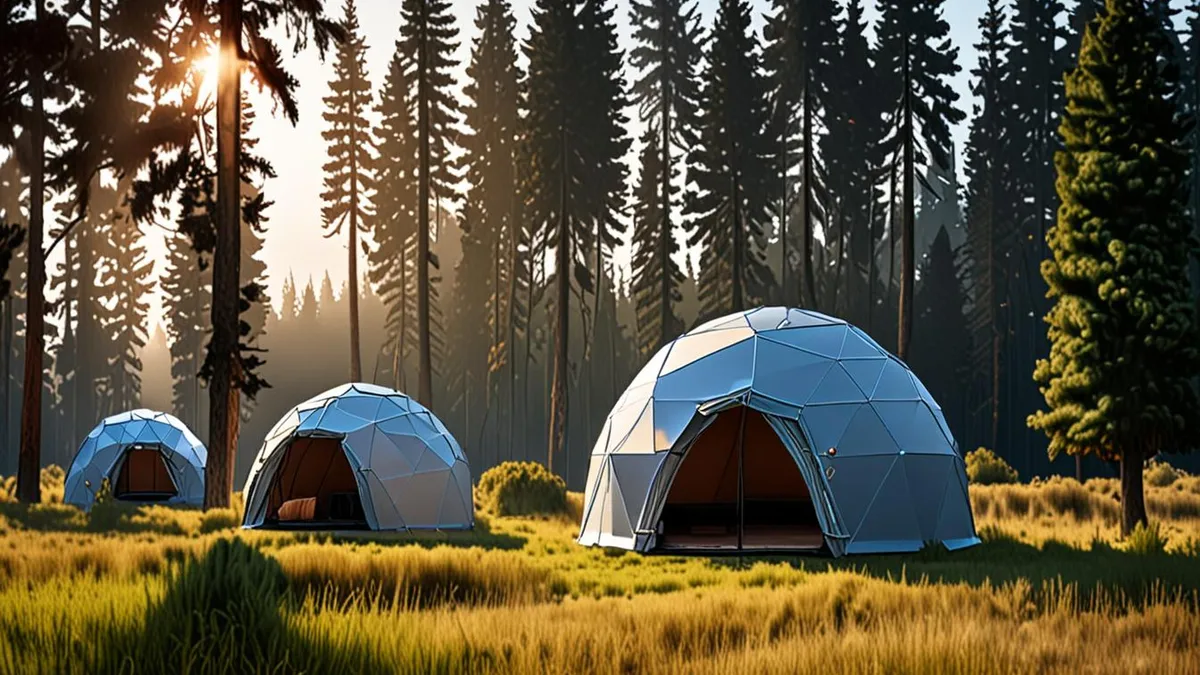
Domes, on the other hand, often run year-round, making them the safer pick for high-elevation or cold-season trips. Their rigid frames and solid panels hold up against wind and snow, and most come with a proper door instead of a zippered flap. If you want a deeper comparison of the three options, this guide to glamping domes, safari tents and yurts breaks down the differences in structure, comfort and seasonal use.
Whatever type you choose, match the insulation and heating to the park’s night temperatures, which can drop sharply even in summer. High-elevation parks like Rocky Mountain or Yellowstone can swing 40 degrees between a warm afternoon and a chilly 3 a.m. wake-up. Before booking, ask the host these questions:
- Heat source: Is there a wood stove, propane heater or electric heat, and does it run overnight or shut off on a timer?
- Insulation: Does the structure have insulated flooring and double-paned windows, or just canvas walls with a floor tarp?
- Water in cold snaps: Are pipes and showers winterized, or does the water supply freeze when temperatures dip below freezing?
- Extra bedding: Are wool blankets or heated mattress pads provided, or should you pack your own sleeping bag liner for shoulder-season nights?
Budgeting: What You’ll Pay In and Around the Parks
Glamping near major national parks sits firmly in the mid-range price band, though where you land within it depends on location, structure type and how much is included. A canvas tent with a shared bathhouse near the gateway town will sit toward the budget end, while a private dome with a hot tub and mountain views will push toward the top. Neither is a bad deal — you just need to know what you’re paying for before you commit.
Location changes the price more than anything
Staying 15+ miles outside the park typically cuts nightly cost noticeably. Gateway towns right at the entrance charge a premium for convenience, while properties a short drive out often offer bigger sites, more privacy and quieter surroundings for less money. Run the math both ways before booking: a cheaper base 20 miles out can still come out ahead over a week-long trip, even once you factor in the extra fuel. Just weigh the savings against the commute you’ll make each morning, since a bargain that adds an hour of driving every day rarely feels like one by day three.
Compare what’s bundled in
Two sites at the same nightly rate can be very different deals once you factor in extras. Check whether meals, gear and park transfers are included when comparing prices. A stay that throws in breakfast, hiking poles and a shuttle to the trailhead may cost more upfront but less overall than a bare-bones site where you rent everything separately. Ask for a full list of inclusions before you book, and weigh the value of each item against what you’d realistically bring or buy anyway. Firewood, linens and kayaks are the extras that most often surprise travelers at checkout.
Vetting a Site: How to Spot a Great Glamping Base
Photos and descriptions tell you what a glamping site looks like on its best day. Reviews from the last few months tell you how it actually performs. Read recent reviews for mentions of noise, wildlife, heating and Wi-Fi reliability — these are the four issues that most often surprise guests. A site next to a highway, a barking-dog neighbor or a busy campground can ruin sleep, and thin canvas walls do little to block sound. Wildlife mentions matter too: reviews that describe secure food storage are a good sign near bear country.
Next, confirm what’s actually included rather than assuming. “Glamping” covers everything from a bare mattress on a platform to a full suite with a private deck. Check for a real bed with proper linens, a private bathroom, and either a kitchenette or camp kitchen access. If you’re planning to cook your own meals to save money, a missing kitchen can quietly add restaurant bills to your trip.
Finally, read the cancellation terms carefully, since park trips depend on weather and road conditions. A wildfire, a closed entrance road or a late-spring snowstorm can derail plans that no amount of planning can prevent. Look for policies that allow changes or credit rather than a strict no-refund rule.
- Check review dates: A glowing review from three years ago may describe different management, new tents or a nearby construction project that’s still ongoing.
- Ask about generator hours: Some remote sites run generators on a schedule, which affects both quiet hours and whether you can charge devices overnight.
- Confirm cell coverage: Hosts often list “Wi-Fi available” without mentioning it drops out in bad weather or only works near the main lodge.
- Look for weather policies: A few hosts offer flexible rebooking if a park road closes or an air-quality advisory hits — that flexibility is worth a lot in fire country.
Wrapping Up Your Base Decision
Picking a glamping base doesn’t have to be complicated. Keep the essentials in mind: stay within 30-45 minutes of the entrance you’ll actually use, book 3-6 months out for summer dates, and match your stay type to the season and your budget of roughly $150-$400 per night in peak months.
Before you commit, read recent reviews and confirm exactly what’s included, from heating to private bathrooms. Do that, and your base becomes the calm, comfortable anchor for a smooth park trip instead of a stressful guess. If this helped you plan, leave a comment or share the article with a fellow traveler.