Glamping promises the comfort of a hotel with the scenery of a campsite, yet first-timers often arrive missing the basics: extra layers for a chilly evening, a working flashlight, or bedding they assumed would be there. The “luxury” label can hide what a site actually provides, and that gap is exactly where a smart glamping trip packing plan comes in. Most sites supply bedding and towels, but not all of them do, so confirming before you pack saves you from a cold first night.
This checklist walks you through everything you need for a typical 2-3 night stay. We start with confirming what your glamping site provides, then cover clothing layers (shoulder-season nights can drop below 10°C / 50°F), bedding and sleep comfort, lighting and power, kitchen and food supplies, and toiletries and first aid. At the end, you’ll find a full glamping trip packing checklist at a glance, so you can tick off items in minutes and head out the door confident you’ve packed right.
Before You Pack: Confirm What Your Glamping Site Provides
The single biggest packing mistake is assuming your glamping site works like a hotel. Most provide bedding and towels, and many include cookware, but the details vary widely between a safari tent in a national park and a cabin on a private farm. Email the host or check the site listing 2-3 weeks before arrival and ask for a clear list of what’s included. That one message can save you from hauling a duvet and a cast-iron pan you never needed.
While you’re at it, ask about the basics that change everything: heating, electricity and running water. A heated yurt with outlets means you can skip the hand warmers and pack a normal phone charger. An unheated tent with no water supply means you’re planning around a camp stove, water jugs and a very different evening routine.
Timing matters too. A stay in the May to October peak season usually calls for far less cold-weather gear than a shoulder-season trip in April or October, when nights can drop below 10°C / 50°F. If your dates fall at the edges of the season, pack as if it will be colder than the forecast suggests.
Before you send that email, make sure your questions cover these specifics:
- Bed size and linen service: some hosts make the bed with sheets, duvet and pillows; others leave a bare mattress. Ask which, so you know whether to bring sheets at all.
- Cookware and utensils: ask if pots, pans, plates, cutlery and a kettle are provided, and whether there’s a fridge or cooler on site.
- Bathroom situation: confirm whether the tent or cabin has a private toilet and shower, or whether you’ll walk to a shared washblock — this affects footwear and toiletry choices.
- Heating type: a wood stove, electric heater or propane unit each have different implications; if it’s a wood stove, ask whether firewood is included.
- Wi-Fi and cell coverage: useful to know if you plan to work remotely or need to navigate on arrival.
Clothing: Layering for a Glamping Trip
Packing clothes for a glamping trip is mostly about layers. Even on a warm summer day, temperatures at elevated sites can drop sharply once the sun sets, and canvas tents hold little heat. The fix is simple: wear three layers you can add or shed as conditions change.
Start with a moisture-wicking base layer, add a fleece or wool mid-layer for insulation, and top it with a waterproof shell. That shell does double duty on drizzly mornings and blocks wind on exposed decks. Skip cotton as a base layer — it holds sweat and dries slowly, which turns miserable when the evening chill arrives.
Footwear matters more than most people expect. You will want sturdy closed-toe shoes or hiking boots for trails and gravel paths, plus a pair of camp sandals to slip on around the tent. And even in the middle of the peak season, toss in a beanie and warm socks: many glamping sites sit at elevation, and nights turn chilly long before you expect it.
For a 2-3 night stay, plan on one outfit per day plus one spare set in case of rain. Keep the spare in a dry bag or zip-top bag so it stays dry no matter what the weather does. Here is what your clothing list should include:
- Base layers: pack two sets so you can swap out a sweaty top after a hike rather than re-wearing damp fabric overnight.
- Mid-layer: a zip-up fleece is easier to adjust than a pullover when temperatures swing between afternoon and evening.
- Waterproof shell: choose one with a hood, since an umbrella is awkward on trails and useless in gusty conditions.
- Footwear: break in hiking boots before the trip — new boots plus blisters far from a pharmacy is a bad combination.
- Camp sandals: pick a pair with a grippy sole, since tent floors, decks and grass stay damp with morning dew.
- Beanie and socks: wool or wool-blend socks keep feet warm even if they get slightly damp, unlike cotton.
- Spare outfit: include a spare pair of socks and underwear in the dry bag, not just a top and bottoms.
Bedding and Sleep Comfort
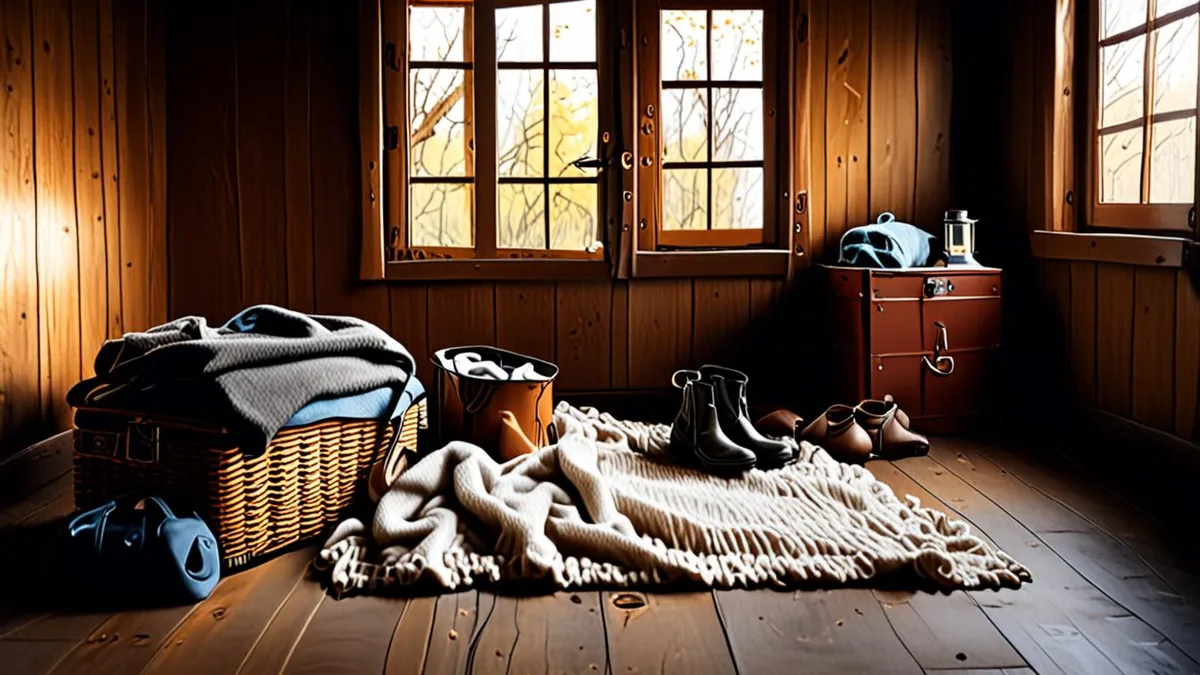
Even when a glamping site supplies proper linens and a duvet, nights in a canvas tent can feel surprisingly cool once the temperature drops. A silk or fleece sleeping bag liner is the easiest fix: it slips over the provided bedding, adds a noticeable layer of warmth on shoulder-season nights below 10°C / 50°F, and keeps things more hygienic if the linens have been used by previous guests. Silk packs down to the size of a paperback, while fleece is bulkier but noticeably warmer.
Pillows are the other weak point. Many sites provide real pillows, but some only offer thin camp-style ones that flatten by the second night. If you are a side or stomach sleeper, a compact travel pillow takes up almost no space in your bag and can make the difference between a restless night and a good one.
Sound and light matter just as much as warmth. Canvas walls block almost nothing, so birdsong at first light and wind in the trees are part of the deal. A few small items solve this:
- Sleeping bag liner (silk or fleece) — choose silk for minimal packing weight, fleece for extra warmth; a liner also protects you if the provided duvet cover feels less than fresh.
- Compact pillow — an inflatable or compressible travel pillow works; test it at home first so you are not surprised by a firmness you dislike.
- Earplugs — soft foam pairs block rustling canvas, owls and neighboring tents; bring a spare pair in case one drops on the tent floor.
- Eye mask — canvas tents glow with early dawn light in summer, so a contoured mask that does not press on your eyelids is the most comfortable choice.
Lighting, Power and Tech
Lighting is the thing glamping first-timers most often underestimate. Even sites that feel polished in booking photos can have dim pathways, a single bulb in the tent, or no exterior lighting at all once the sun goes down. Walking to the bathroom block or back from a campfire in the dark with your phone flashlight in your teeth gets old fast.
The fix is simple and cheap. Give every person in your group their own headlamp — hands-free light makes cooking, finding things in a duffel and late-night bathroom runs far easier. Add one lantern for inside the tent so you can play cards, read or get kids settled without wearing a light on your forehead all evening.
Power is the second surprise. Many tents and cabins have no outlets, and even sites with electricity may have a single socket that does not reach your sleeping area. A power bank keeps phones alive for maps, photos and messages without a scramble for the one available plug. Charge it fully before you leave home, since you may not get a top-up until you drive through a town.
- Headlamp per person: choose one with a red-light mode so you do not blind tentmates when you turn it on at night, and pack spare batteries or a charging cable if it is rechargeable.
- One lantern for the tent: a rechargeable or battery LED lantern placed centrally lights the whole space; hang it from a tent loop if there is one, and check it works before you leave.
- Power bank of 10,000 mAh or more: this size typically recharges a phone several times, enough to cover a 2-3 night stay; look for one with at least two USB ports so two people can charge at once.
- Cables for every device: bring one charging cable per person plus one spare — cables are the most commonly forgotten item and the hardest to replace at a remote site.
- Car charger cable as backup: a USB adapter for the car lets you top up phones and the power bank on drives between towns, which is often your only reliable power source en route.
Kitchen and Food Supplies
The kitchen situation varies more from site to site than almost anything else, so this is the category where a quick message to your host pays off most. Ask specifically whether there is a grill, a camp stove or a fire pit you can cook on, and whether fuel is included. A propane stove without a canister is just a heavy paperweight, and some sites ban open fires during dry spells. Whatever the answer, keep matches or a lighter on your person rather than in the car — you do not want to dig through bins at dusk with cold hands.
If the site has no refrigerator, a decent cooler is essential for a 2-3 night stay. Block ice lasts longer than bagged cubes, and packing the cooler full helps it hold temperature. Pre-chill it at home the night before, and plan meals so the most perishable food gets eaten first.
Even sites that advertise a kitchen often stock the bare minimum, so bring your own basics. A short list of what earns its space:
- Reusable plates, bowls and cutlery: enamel or lightweight plastic sets survive being tossed in a bin far better than ceramic.
- Cutting board and a good knife: one mid-sized chef’s knife with a blade cover handles nearly every camp meal.
- Coffee setup: a pour-over cone with filters or a small French press, plus ground coffee in a sealed container.
- Trash bags: pack more than you think you need, since many sites require you to carry waste out with you.
- Water jug or bottles: potable water is not always available on site, so bring a large refillable jug and check with your host about refill points nearby.
Toiletries and First Aid
When it comes to washing up at a glamping site, what you pack matters as much as how much. Many sites rely on septic or greywater systems, which means regular soaps and shampoos can harm the treatment process or the surrounding soil. Biodegradable soap and shampoo break down naturally and are kinder to the land around your tent. The same goes for toothpaste — a small tube of a natural brand works fine and takes up almost no space.
Bug protection is the other big one. Insects are most active during the May to October peak season, especially near water, meadows or woodland edges. A good insect repellent saves your evenings around the fire, and an after-bite cream takes the misery out of the bites that slip through. If your site has a lake, river or swimming spot nearby, choose a reef-safe sunscreen so you are not rinsing harmful chemicals into the water.
A compact first aid kit is worth its weight in luggage space. You do not need a full pharmacy — just the basics to handle blisters from a day hike, small cuts from cooking and the odd headache. Here is what to include:
- Blister plasters — hydrocolloid ones stay on for days, even through sweat and damp grass, which matters when showers may be a walk away.
- Antiseptic wipes — useful for cleaning scrapes when there is no sink nearby, and they double as an emergency hand cleaner before eating.
- Painkillers — a small travel pack of ibuprofen or paracetamol covers headaches, sore muscles after hiking and general camp aches.
- Personal medication — pack more than you think you need for a 2-3 night stay, in case a return home is delayed, and keep it in its original packaging.
- Tick tweezers or a tick tool — grassy and wooded sites carry ticks in summer, and removing one promptly and correctly matters.
One last item: a quick-dry towel. Most sites provide towels, but a lightweight microfibre one is a handy backup for lake swims, muddy boots or an unexpected downpour, and it dries on a tent line within hours.
Your Glamping Trip Packing Checklist at a Glance
Glamping promises comfort in the wild, yet first-timers often arrive missing basics like extra layers, lighting or bedding because the “luxury” label hides what’s actually provided. The fix is simple: confirm your site’s amenities first, then pack around what’s missing. That single email or listing check shapes everything else on this checklist.
From there, cover the five categories: clothing layers, sleep comfort items, lighting and power, kitchen gear and toiletries. This checklist is built around the most common trip — a 2-3 night stay during the May-October season — so you can work through it quickly and adjust for your own dates. Get these categories sorted and you genuinely get the comfort of a hotel with the atmosphere of the outdoors. If this checklist helped you pack, leave a comment or share it with a friend planning their first glamping trip.