Many travelers assume glamping shuts down when temperatures drop, yet winter stays are booming — so how do tents and domes actually keep you warm? The answer is that glamping in winter has almost nothing in common with the summer version. Sites that open through the cold months rely on insulated structures, real heating and careful design, not thin canvas and optimism.
This guide walks through what a genuinely winter-ready stay looks like, from geodesic domes and yurts to heated safari tents, and explains how wood stoves, thermal liners and underfloor heating keep interiors comfortable on freezing nights. We’ll also cover when to book and what winter rates typically cost, what to pack for a cold-weather stay, how to choose the right site for your trip, and how to make the most of short winter days. By the end, you’ll know whether trading long summer evenings for snow scenery and cozy nights is worth it for you.
What Glamping in Winter Actually Looks Like
Forget the image of a flimsy bell tent pitched in a snowy field. Winter-ready glamping is limited to insulated structures that can genuinely handle freezing temperatures: geodesic domes with layered covers, traditional yurts, solid cabins and, at some sites, safari tents upgraded with heating and insulated linings. If a structure isn’t built for the cold, most operators simply don’t offer it in winter.
That leads to the first big split in the market. Some sites stay open year-round and upgrade their heating, insulation and access for the cold months. Others close entirely from November to March, so a summer listing on a booking platform doesn’t guarantee the same site operates in winter — always confirm the season before you get attached to a particular dome or cabin.
Getting there and getting clean
Access matters more in winter too. Expect to reach many sites by car on plowed roads, or by a short walk from parking if the last stretch isn’t cleared. Pack accordingly, because dragging a suitcase through snow is nobody’s idea of a smooth arrival.
Facilities also vary more than they do in summer. At simpler sites, communal heated bathhouses replace en-suite bathrooms — perfectly comfortable, but a different experience when you’re walking across a frosty deck at night. Premium stays usually keep private bathrooms, so check what your chosen structure includes before booking.
How Cold-Weather Glamping Stays Warm
Heat is the whole ballgame in winter, and wood stoves are the most common source. They put out a dry, satisfying warmth, but they need attention: on freezing nights a stove can burn through 2-3 logs an hour, so you’ll be reloading every couple of hours unless the site runs a larger stove or adds backup heating. Most operators supply firewood, but confirm this before you go.
The structure itself does most of the quiet work. Well-insulated domes and yurts typically hold interiors 15-25°C warmer than the outside temperature overnight, which is why a -10°C night can still feel comfortable inside. If you’re comparing options, this breakdown of glamping costs by stay type shows how heating and structure type affect what you’ll pay.
The main pieces of the insulation puzzle look like this:
- Thermal liners — an insulating layer fitted under the canvas or dome cover that traps warm air and stops the fabric feeling icy to the touch.
- Double glazing — windows are the weak point in any fabric structure, so winter-rated domes and yurts use double-paned units to cut heat loss and reduce condensation.
- Raised floors — lifting the floor off the frozen ground keeps cold and damp from seeping up, and makes the interior noticeably warmer underfoot.
- Propane backup heaters — common in premium setups, these kick in if the stove dies overnight so you’re never relying on one heat source alone.
Premium sites often go further, adding underfloor heating in bathrooms or living areas and heated blankets on beds. These extras matter most in the early morning, before you’ve built the fire back up, which is when simpler structures feel their coldest. When you book, ask the operator which of these features are standard and which are only available in certain units — the difference between a basic dome and a fully winterized one is bigger than most first-timers expect.
When to Book and What Winter Glamping Costs
Winter glamping is one of the few times you can book a popular site and pay less for it. Winter rates typically run 20-40% below summer peak at the same property, with most stays falling in the $120-350 per night range depending on the stay type and level of heating. A dome with a wood stove and private bathroom sits at the higher end; a simpler yurt with a shared bathhouse sits lower.
How far ahead to book
For regular winter weekends, booking 2-3 months ahead is usually enough to get a good choice of structures. Holiday dates are a different story: Christmas and New Year slots often need 4-6 months of lead time, and the best-heated units at popular sites go first. If you have your heart set on a specific dome for the holidays, don’t wait for last-minute deals — they rarely appear in winter.
What’s included in the rate?
This is where winter pricing can surprise you. Firewood is the big one: some sites include all the logs you need, while others charge per bundle, and a cold snap can make that add up. Ask the same question about hot tub use, since wood-fired tubs sometimes carry a separate fee for filling and heating, and about heating fuel if the site uses propane or electric heaters alongside the stove. A five-minute email to the operator before booking tells you exactly what your nightly rate actually covers.
What to Pack for a Cold-Weather Stay
Even the warmest dome or yurt doesn’t remove the need for proper winter clothing. Interiors are heated, but you’ll spend plenty of time outside — carrying firewood, walking to the bathhouse, or simply stepping out to see the stars. Pack insulated layers you can add or shed easily, waterproof boots with decent grip, and thermal sleepwear for nights when the stove burns low before dawn.
The biggest surprise for first-timers is how dark it gets. With only 4-6 hours of usable daylight in midwinter, you’ll almost certainly walk to shared facilities after sunset. A headlamp keeps your hands free for doors, gates and firewood, and it beats fumbling with a phone flashlight in freezing air.
Trips to the bathroom or hot tub are short, but the right gear makes them pleasant instead of miserable. Before you finalize your bag, it helps to work from a complete glamping packing checklist so nothing essential gets left behind. Then add these winter-specific items:
- Slip-on footwear or insulated sandals — lacing up boots at 2 a.m. for a bathroom run gets old fast, so keep something by the door you can step into instantly.
- A warm robe or oversized fleece — it turns a dash through the snow to the hot tub or shower into a comfortable walk rather than a shivering sprint.
- Hand warmers — a few disposable pairs in your jacket pocket make stargazing, firepit evenings and early morning dog walks far more enjoyable.
- A thermos — fill it before bed so you have hot coffee or tea in the morning without waiting for a stove to relight.
- Moisture-proof bags for electronics — phones and cameras can suffer in the repeated swing between a warm interior and sub-zero outdoors, so seal them in zip bags and let them acclimatize before use.
Choosing the Right Winter Stay for Your Trip
If this is your first cold-weather stay, resist the temptation to book the most remote, photogenic dome on the map. First-timers are far better off at a site with en-suite heating and on-site staff, rather than a self-check-in structure down a quiet forest road. When the stove goes out at midnight or the propane heater won’t light, having someone to call on — or knock on the door of — matters enormously. If you’re new to glamping in general, a beginner’s guide to planning your first glamping trip covers the basics that apply in every season.
Confirm it’s genuinely winter-rated
Not every glamping structure survives the cold season. Many safari tents operate summer-only, and some sites simply close from November through March. Before you pay a deposit, ask directly whether the structure is rated for winter use, what heating it has as standard, and whether water lines stay functional in freezing conditions. A site that hedges on these answers is telling you something.
Extras and access worth checking
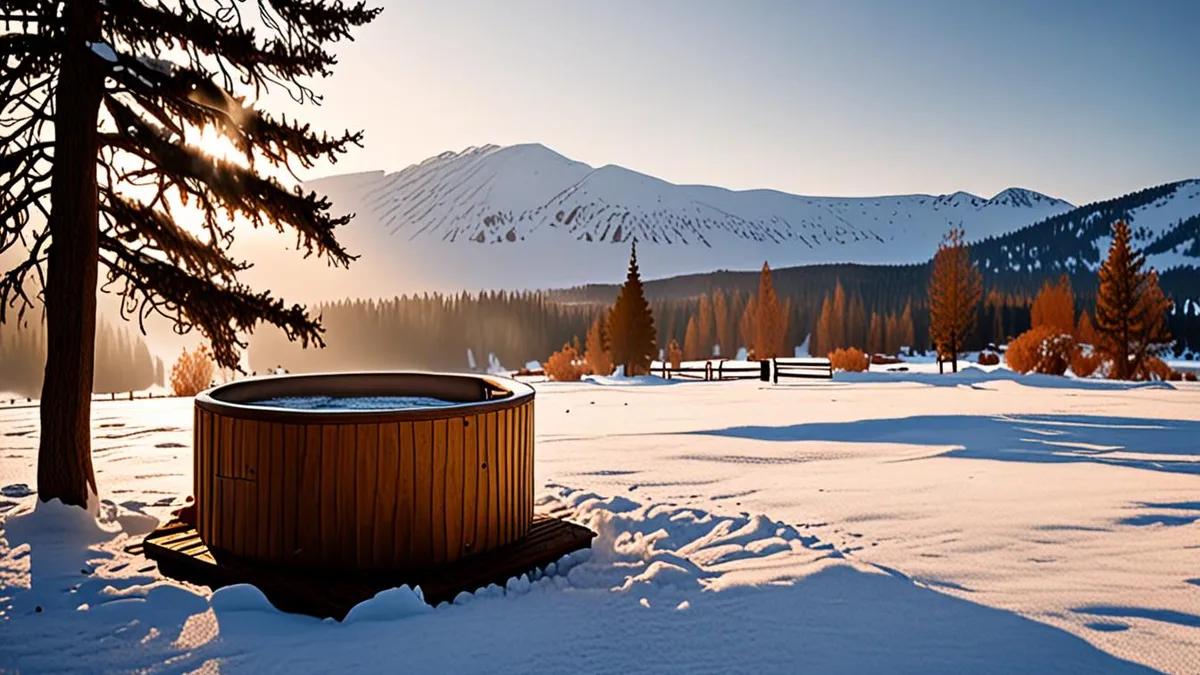
Winter stays live or die on their cold-weather extras. A wood-fired hot tub, a sauna, a firepit near your structure, or direct snowshoe and ski access from the door can turn two short days of daylight into a genuinely memorable trip. These features also give you something to do after dark, when options are limited.
Finally, ask about access in detail. An unplowed road or a steep, icy path can turn a 10-minute walk from parking into a real slog when you’re hauling luggage and groceries. Find out how far you’ll carry your bags, whether the site clears snow after storms, and whether a four-wheel-drive vehicle is recommended in poor conditions.
Making the Most of Short Winter Days
Winter glamping rewards planners. Daylight is in short supply in midwinter, so you can’t improvise your way through the day — you need to decide what matters most and schedule it while the sun is up. Snowshoeing, a short hike, or a midday soak in the hot tub all belong in that bright window; save the indoor comforts for after dark.
Once darkness falls, the wood stove becomes the heart of the trip. Evenings revolve around it: slow cooking on the stovetop, a stack of board games, a book you’ve been meaning to finish. Most winter-ready sites lean into this deliberately, and the cozy pace is half the appeal. A few ideas to build your evenings around:
- Bring food that suits one-pot stove cooking — stews, curries and slow-simmered dishes work far better on a wood stove than meals that need precise oven timing.
- Pack analog entertainment — cards, a compact board game and a paperback don’t need charging, and screens feel out of place next to a crackling fire.
- Download podcasts or playlists in advance — remote sites often have weak or no signal, so save anything you want to listen to before you lose reception.
- Plan a stargazing slot — clear winter nights away from city lights are exceptionally dark, so step outside with hot drinks rather than waiting for morning.
Set an alarm for sunrise, even on vacation. The low-angle light hitting fresh snow is the best photography window of the day, and it lasts only a short time. If you’re up before the fire has been restoked, you’ll also catch the quietest, most atmospheric hour at the site — steam rising off the hot tub, frost on the dome, and nobody else around. That early-morning stillness, more than anything else, is what makes travelers come back to winter glamping year after year.
Is Winter Glamping Worth It?
A proper winter glamping stay isn’t a summer tent with a blanket thrown on top. It’s an insulated dome or yurt fitted with thermal liners and a real heat source, so the interior stays warm even when the temperature outside plummets. Those structures typically hold interiors 15-25°C warmer than the air outside, which makes a huge difference when you’re stepping out of snow boots into a cozy space at the end of the day.
The season runs November through March, and it’s far more established than many travelers assume. Sites that stay open in winter have usually invested in proper heating rather than improvising, so you’re not gambling on a flimsy setup.
It also costs less. Winter stays usually run 20-40% below peak summer rates, typically $120-350 per night. Book 2-3 months ahead (4-6 for the holidays), pack thermal layers, and make sure the structure you pick is genuinely rated for winter rather than summer-only. If you can accept short days and a walk to the bathhouse in the dark, the payoff is snow scenery, a crackling stove and cozy nights for less money. Have you tried a cold-weather glamping trip? Share your experience in the comments or pass this article along to a friend.